Squeaky Floor Repair Solutions

Performing repairs during the morning can be ideal for scheduling convenience and availability of contractors.
Late spring or early fall often provides optimal conditions for flooring work, avoiding extreme weather.

Repairs are best done when indoor humidity and temperature are stable to prevent floor movement.

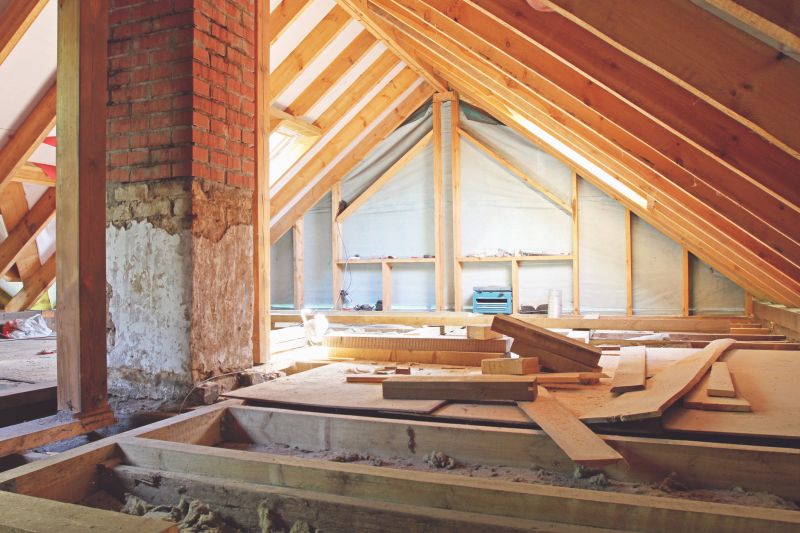
Ways to make Squeaky Floor Repairs work in tight or awkward layouts.
Popular materials for Squeaky Floor Repairs and why they hold up over time.
Simple add-ons that improve Squeaky Floor Repairs without blowing the budget.
High-end options that actually feel worth it for Squeaky Floor Repairs.
Finishes and colors that play nicely with Squeaky Floor Repairs.
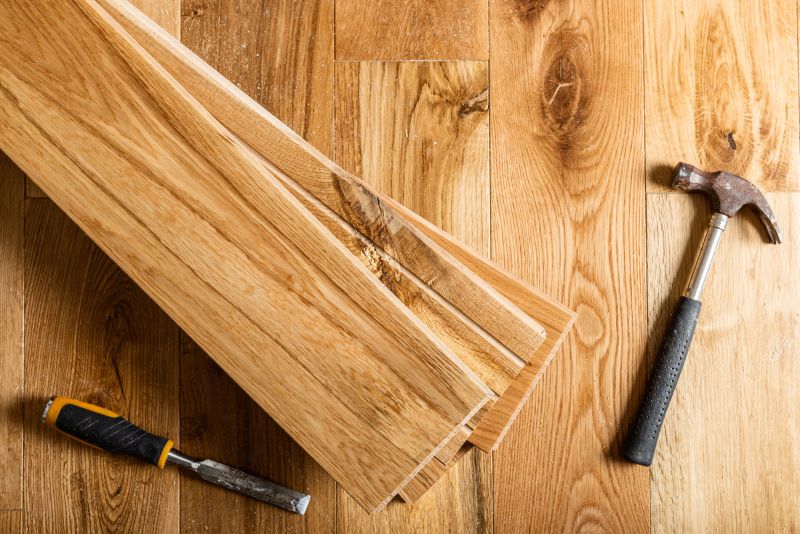
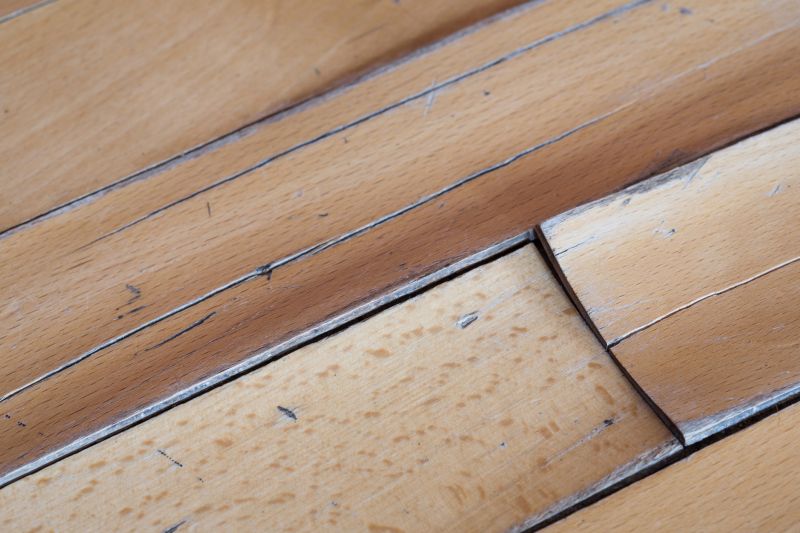
Squeaky floor repairs involve identifying the source of noise and addressing loose or damaged floorboards. The process can include tightening nails, adding adhesive, or replacing sections of flooring. Statistics indicate that approximately 30% of homeowners experience squeaky floors at some point, making timely repairs important to maintain flooring integrity.
The best time to undertake squeaky floor repairs depends on several factors, including weather, indoor conditions, and contractor availability. Performing repairs during periods of mild weather ensures that flooring materials and adhesives perform optimally, reducing the likelihood of future issues. Additionally, scheduling repairs during seasons with less foot traffic can minimize disruptions and allow for more thorough work.
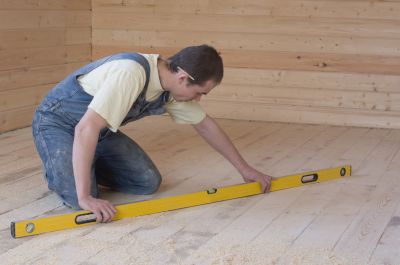
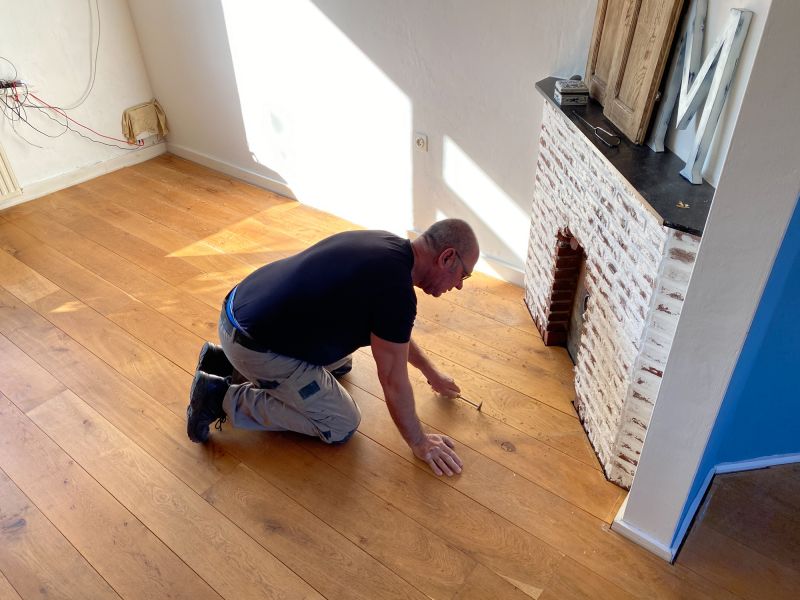
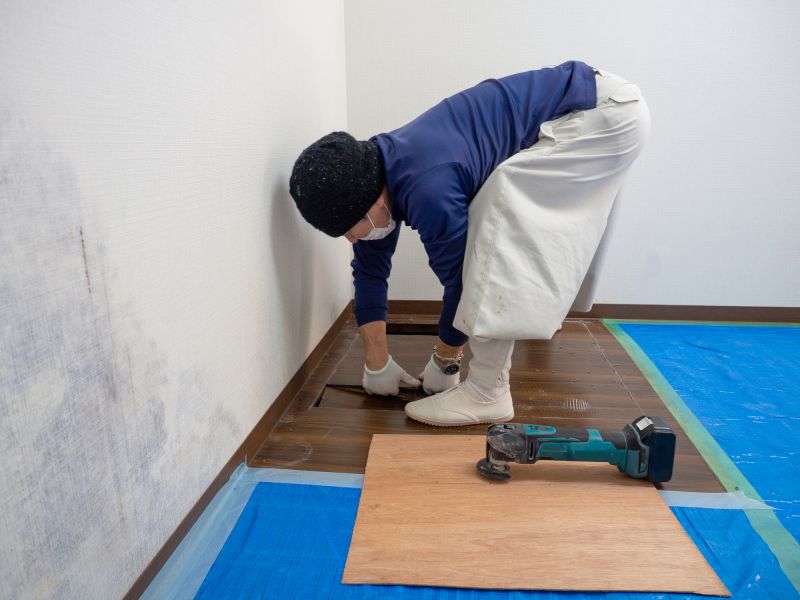
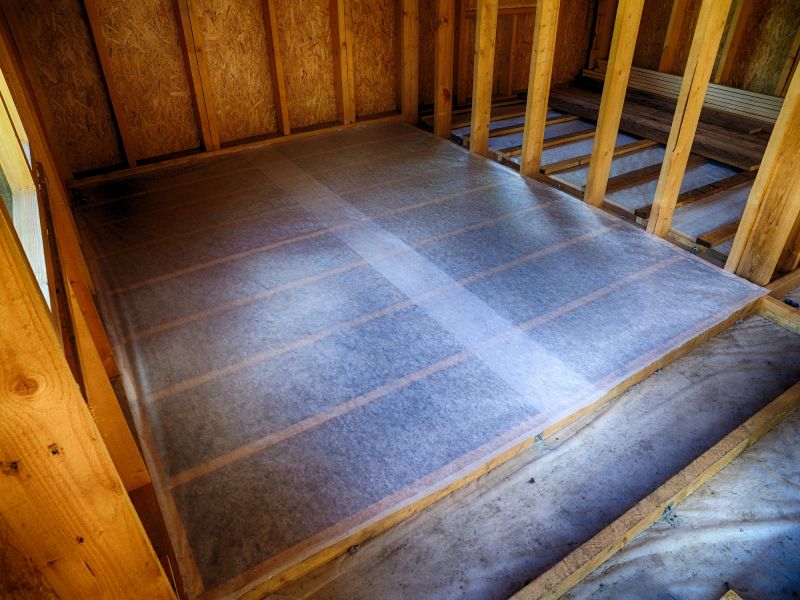
Inspecting joists helps identify loose or damaged components causing squeaks.
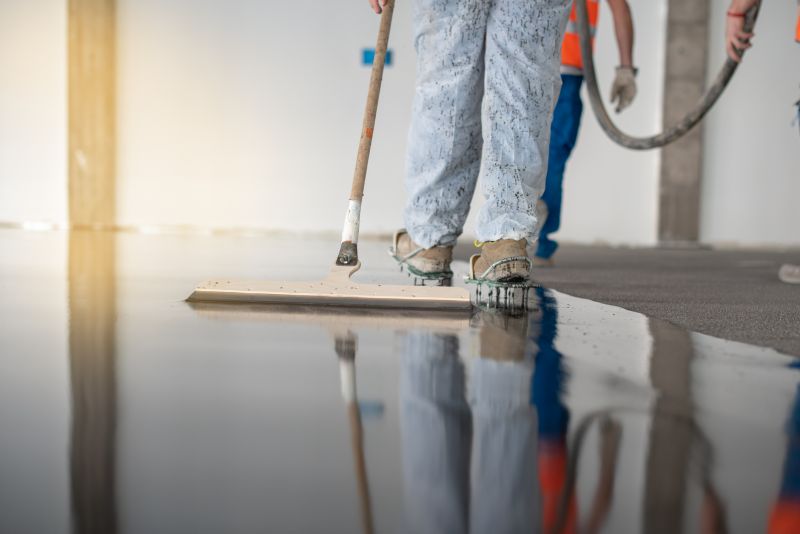
Applying specialized adhesives can secure loose floorboards effectively.

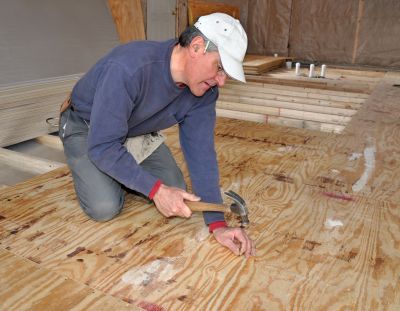
Securing nails properly reduces movement and noise in the flooring.
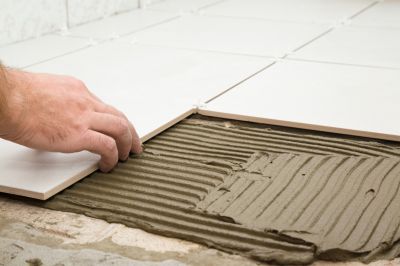
Replacing damaged sections restores the floor’s stability and reduces squeaks.

Adding underlayments can reduce noise transmission and prevent squeaks.

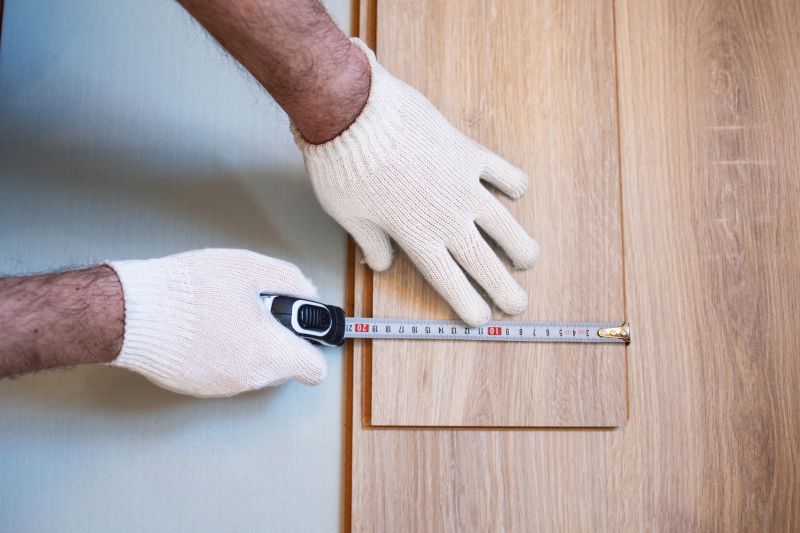
Ensuring the floor is level prevents future squeaking issues.
Controlling indoor humidity helps maintain floor stability and prevents movement.
Final inspection ensures all squeaks are addressed and repairs are effective.
| Timing Consideration | Recommended Season |
|---|---|
| Indoor stability | Spring or Fall |
| Extreme weather avoidance | Summer or Winter |
| Contractor availability | Spring or Fall |
| Indoor humidity levels | Spring or Fall |
| Foot traffic levels | Off-peak seasons |
| Material curing times | Mild weather periods |
| Scheduling flexibility | Mid-season months |
| Indoor temperature stability | Spring or Fall |
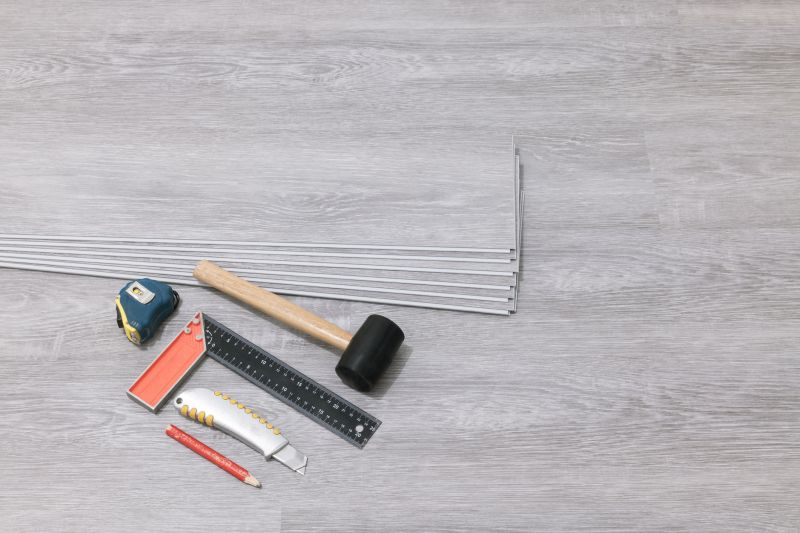
Tools needed include hammers, adhesives, and pry bars for effective repairs.
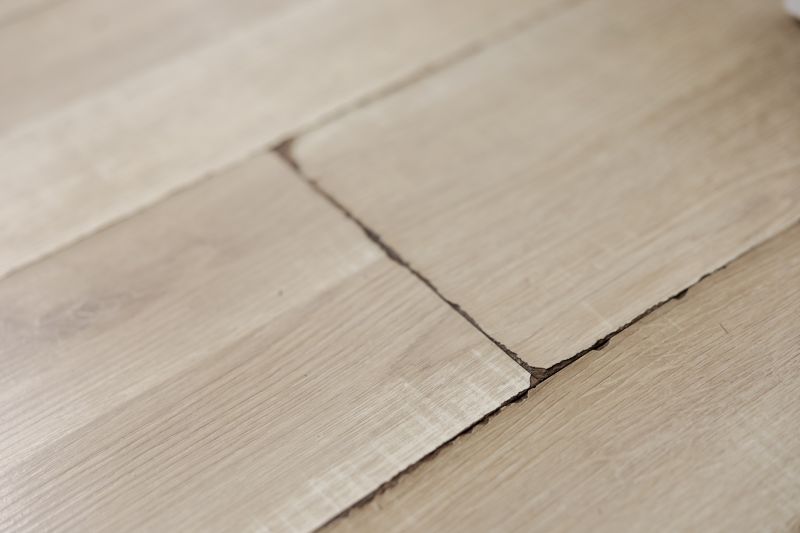
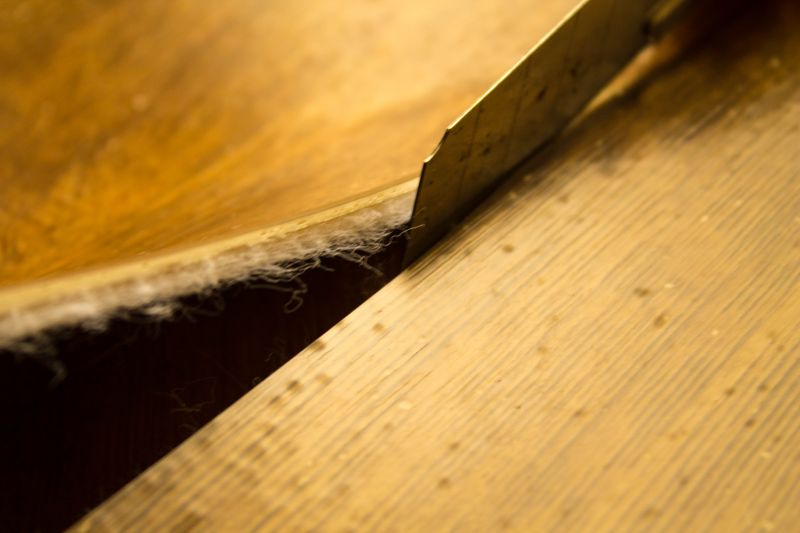
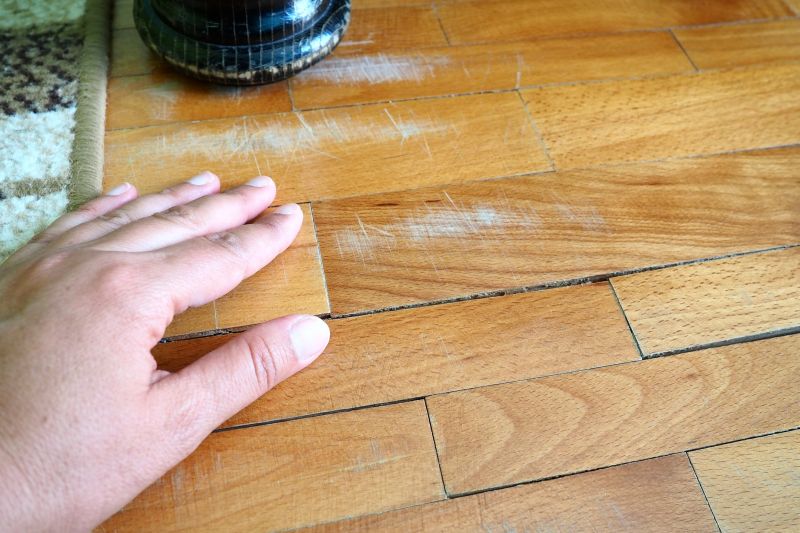
Squeaky floors often show visible gaps or loose boards before repairs.
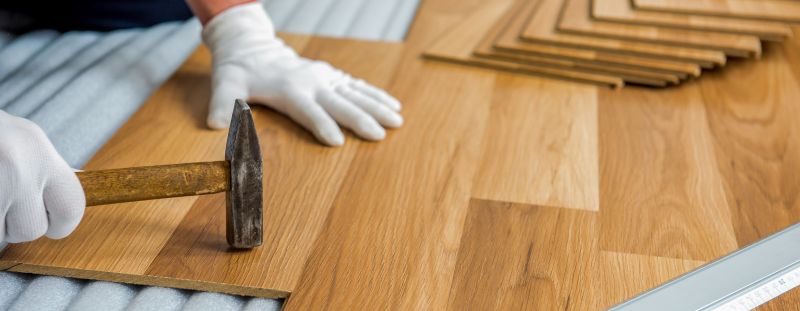
Proper technique ensures secure fastening and minimizes future squeaks.
Floor should be quiet and stable, with no residual squeaks.
Little measurements that prevent headaches on Squeaky Floor Repairs day.

A 60-second routine that keeps Squeaky Floor Repairs looking new.
A frequent mistake in Squeaky Floor Repairs and how to dodge it.

Small tweaks to make Squeaky Floor Repairs safer and easier to use.
Timely and properly scheduled squeaky floor repairs contribute to maintaining the value and safety of flooring. If there is interest in scheduling repairs or obtaining more information, filling out the contact form provides a direct way to connect with flooring specialists.
Lower-waste or water-saving choices for Squeaky Floor Repairs.
The short, realistic tool list for quality Squeaky Floor Repairs.
Rough timing from prep to clean-up for Squeaky Floor Repairs.